Replacing garage door springs is an important task for homeowners, ensuring your garage door operates both smoothly and safely. The springs play a crucial role in supporting the door’s weight and making it easy to open and close. Over time, these springs wear out, and replacing them is necessary to keep your garage door operating properly and to prevent potential hazards.
Understanding how to replace garage door springs can save you time, money, and the frustration of dealing with a malfunctioning door. In this guide, we’ll provide you with step-by-step instructions, safety tips, and common pitfalls to avoid. Whether you’re working with torsion springs or extension springs, you’ll learn everything you need to know in order to handle this job confidently.
By following the information in this easy guide, you’ll be better able to ensure your garage door remains reliable and safe for years to come. Taking on this task may seem challenging at first, but with preparation and the right tools, you can tackle it like a pro.
Replacing garage door springs is no small task, but learning how to replace garage door springs can make the process a whole lot easier.
Below, we have discussed garage door springs in detail. The types of garage springs and how they work are mentioned in detail below.
Types of Garage Door Springs
There are two main types of garage door springs: torsion springs and extension springs. These components are essential to the door’s proper operation, because they counterbalance its weight, making it easier to lift and lower. Understanding the differences between these two types is the first step in mastering how to replace garage door springs.

Type 1 - Torsion Springs:
These are usually mounted horizontally above the garage door. They use torque to support and lift heavier doors. Torsion springs are durable and provide controlled, smooth operation, but they require precise tensioning for proper functioning.
Type 2 - Extension Springs:
These are located on either side of the door and stretch along the tracks when the door is lowered. They work by contracting and extending to help raise and lower the door. While they are simpler to replace, extension springs also require attention to safety cables to prevent accidents.
How Garage Door Springs Work
Garage door springs are an essential and very important element of a garage door. They balance the heavy weight of the door, the garage spring is capable of taking a lot of pressure than it looks like it is light. Without it, your garage door will not open or close and your operator will not work. Because this spring is connected to the garage door opener. The garage door opener and the spring work together to open garage door as you want, that is how it works.
Signs Your Garage Door Spring Needs Replacement
Your garage door springs work tirelessly to support the weight of your door, and over time, they can wear out. Spotting the early warning signs of a problem is important in order to avoid sudden failures or costly repairs. Recognizing these garage door spring repair signs is the first step toward ensuring your door operates safely and reliably.
- Loud snapping noises: If you hear a sharp, sudden noise during operation, it could mean a spring has broken or is under stress and nearing failure.
- Door imbalance or uneven movement: A garage door that tilts to one side or moves erratically may signal a weak or broken spring.
- The door fails to open fully: When the door feels heavier than usual or doesn’t stay open, it’s likely the springs are no longer providing adequate support.
- Visible gaps or wear on the spring: Check for noticeable gaps, rust, or signs of fraying—these are clear indicators your springs need replacing.
Recognizing these garage door spring repair signs is important for maintaining the functionality and safety of your garage door. Failing to address these issues can lead to further damage, more expensive repairs, or even injury from a spring breaking under tension. What should you do if the spring breaks for some reason despite your precautions? We have a detailed and informative guide on this matter “What happens when a garage door spring breaks“. You can check it out, I hope it will be useful.
By paying attention to these signs, you can decide whether it’s time to act and learn how to replace garage door springs properly. If you’re unsure or uncomfortable handling the repair, seeking professional assistance is always a safe and smart choice.
Understanding the type of spring system in your garage is an important step toward successfully managing how to replace garage door springs. This knowledge not only helps you complete the job safely but also ensures you choose the right replacement parts for long-term performance.
Tools and Safety Requirements Before Replacing Garage Door Springs
Replacing garage door springs requires preparation, the right tools, and careful attention to safety. Having everything ready before you start will make the process smoother and safer. Here’s what you need to know to get started.
Tools Needed
Replacing garage door springs requires preparation, the right tools, and careful attention to safety. Having everything ready before you start will make the process smoother and safer. Here’s what you need to know to get started.
- Winding bars: Essential for safely adjusting or replacing torsion springs.
- Adjustable wrench: For loosening and tightening bolts during the process.
- Safety glasses and gloves: Protect your eyes and hands from potential injuries.
- Stepladder: Helps you safely access the springs and overhead components.
Being equipped with these tools is the first step to learning how to replace garage door springs properly.
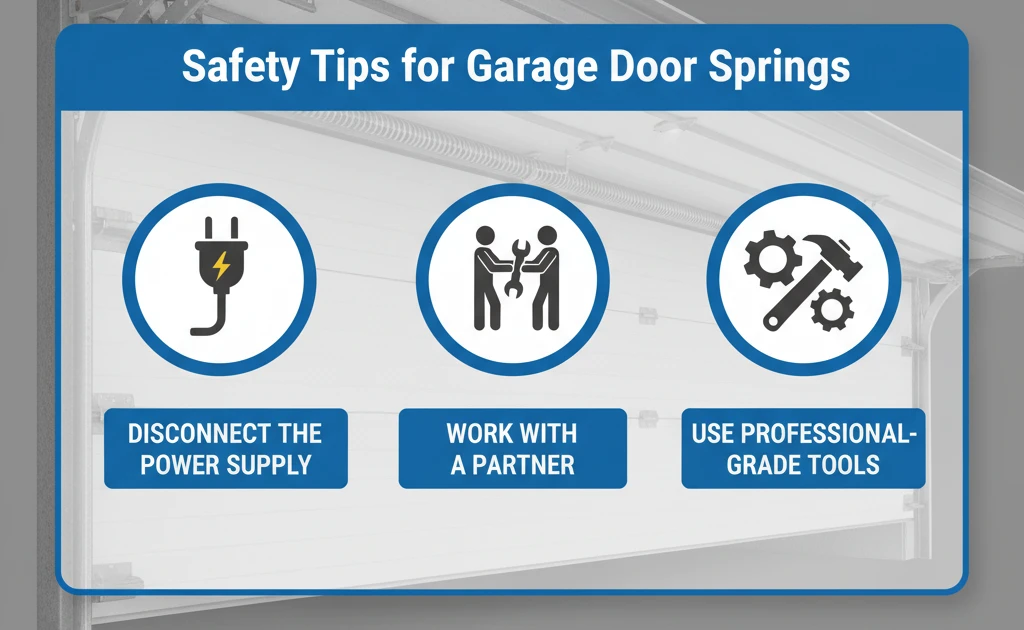
Garage Door Spring Safety Tips:
- Tip 1: Disconnect the power supply: Unplug the garage door opener to prevent accidental activation.
- Tip 2: Work with a partner: Having someone assist you makes the process easier and safer.
- Tip 3: Use professional-grade tools: This prevents equipment failure and ensures the job is done correctly.
Preparation Steps for Replacing Garage Door Springs
Before jumping into replacing your garage door springs, it’s important to take the time to prepare properly. A well-organized approach will help to minimize any risks and will ensure the replacement process goes as smoothly as possible. Follow these steps to get everything ready:
Preparation 1st Step: Inspect the Garage Door Springs
Start by identifying whether your garage door uses torsion or extension springs. Torsion springs are mounted horizontally above the door, while extension springs run along the sides of the door. Knowing what you’re working with is an important first step when preparing to replace garage door springs.
Preparation 2nd Step: Secure the Garage Door
To prevent the door from moving during the repair, use clamps or locking pliers to hold it in place. Securing the door is a simple but very important step that protects you from accidents and keeps the garage door stable.
Preparation 3rd Step: Disconnect Garage Door Operator Power
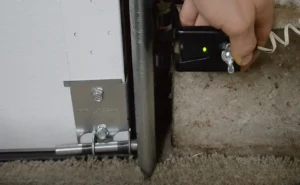
Safety comes first, so unplug the garage door opener to ensure the door doesn’t activate while you’re working. Disconnecting the power is non-negotiable when dealing with high-tension springs.
Preparation 4th Step: Gather All Tools
Having all necessary tools within reach is vital. Ensure you have winding bars (for torsion springs), an adjustable wrench, safety gear, and a sturdy stepladder. Being prepared with the right equipment makes the job of how to replace garage door springs much easier.
Taking these steps when preparing to replace garage door springs will set you up for success. A little extra time spent organizing and ensuring safety will make all the difference. Once you’re ready, you can confidently move forward with how to replace garage door springs, knowing you’ve done everything to ensure both a smooth and safe process.
How to Replace Garage Door Springs: Steps for Replacing Torsion Springs
In order to replace garage door torsion spring requires precision, patience, and attention to detail. These springs are under significant tension, making safety and proper technique very important. Follow these step-by-step instructions to ensure the process is safe and successful.
Step 1: Release Tension With Winding Bars
Start by carefully releasing the tension in the torsion springs. Use a winding bar inserted into the winding cone to slowly turn the spring and release the stored tension. Always hold the bar firmly to prevent sudden movement, as the spring can snap back with force if mishandled. This is an important step to safely replace garage door torsion springs.
Step 2: Remove Old Springs
Once the tension is released, unbolt the torsion spring from its mounting bracket and the cable drum on either side of the door. Carefully slide the spring off the shaft. Check the shaft and drums for wear and clean them if necessary before installing the new spring. We have a guide on how to change your garage door cable that you can check out if you’d like.
Step 3: Install New Springs
Position the new torsion spring on the shaft, ensuring it’s correctly oriented based on its winding direction. Attach it securely to the mounting bracket. Use winding bars to gradually wind the spring to the recommended number of turns, following the manufacturer’s specifications. Proper winding ensures that the spring provides the right amount of tension for your door.

Step 4: Secure the Assembly (Cable & Bolts)
Reconnect the cables to the cable drum and ensure they are evenly wound. Tighten all bolts and test the door’s movement to ensure smooth operation. Adjust the spring tension slightly if the door feels too heavy or doesn’t open fully.
Common Pitfalls to Avoid
Replacing a garage door torsion spring may seem daunting at first, but with the right tools and careful attention to each step, it’s manageable. Always prioritize safety when handling high-tension springs. Understanding how to replace garage door springs, including the specifics of torsion springs, can save you time and help you avoid costly mistakes.
Whether you’re a seasoned DIY enthusiast or a first-timer, taking the time to properly replace a garage door torsion spring ensures your garage door operates smoothly and safely for years to come. If you’re unsure about any step or lack the necessary tools, consider reaching out to a professional for assistance. Learning how to replace garage door springs properly is key to a successful repair.
Testing and Adjusting After Replacing New Springs
Once you’ve installed new garage door springs, the next important step is testing and adjusting them to ensure they’re working properly. Skipping this step can lead to operational issues or even safety risks. Taking time to carefully test garage door springs will help you catch any problems early and ensure everything is set up for smooth and reliable performance.
Processes 1: Manually Open and Close the Door
Start by manually opening and closing the garage door a few times. Pay attention to how the door moves—does it open and close smoothly? Does it stay balanced when it’s halfway open? Smooth movement and proper balance indicate that the springs are functioning correctly. If the door feels heavy or doesn’t stay open, the springs may need further adjustment.
Processes 2: Adjust Tension Quarter-Turns At a Time
For torsion springs, use winding bars to fine-tune the tension. Add or release a quarter-turn at a time, then retest the door’s operation. For extension springs, reposition them on the track brackets to achieve the right tension. Proper tension adjustment is critical to ensuring the springs provide the right amount of support for the door.
Processes 3: Inspect Safety Cables & Features
Examine the safety cables, especially if you’ve replaced extension springs. Make sure the cables are securely attached and run smoothly through the springs. For torsion springs, double-check that all bolts and brackets are tightened properly. These safety measures ensure that your new springs are securely installed and ready for long-term use.
Processes 4: Confirm Smooth and Balanced Operation
By following these steps, you’ll successfully test garage door springs and confirm that your door operates safely and reliably. Hopefully, once the above tasks are completed, you will get a smooth and balanced operation. Learning how to replace garage door springs doesn’t end with installation—testing and adjusting are essential to completing the process and extending the life of your new springs.
Common Mistakes to Avoid When Replacing Garage Door Springs
Replacing garage door springs is a task that requires precision, safety, and the right tools. Even with careful preparation, there are common errors that can complicate the process or lead to unsafe conditions. Knowing these garage door spring replacement mistakes ahead of time can help you avoid them and ensure the job goes smoothly.
Mistakes to Avoid 1: Skipping Safety Measures
One of the most dangerous mistakes is neglecting basic safety steps. Always disconnect the power to the garage door opener and wear protective gear like safety glasses and gloves. Springs are under high tension, so taking precautions is critical when learning how to replace garage door springs.
Mistakes to Avoid 2: Using Incorrect Tools
Professional-grade tools, like winding bars for torsion springs, are a must. Using makeshift tools or those not designed for this purpose can lead to slips, breakage, or improper installation. Having the right tools ensures everything is accurate and safe.
Mistakes to Avoid 3: Improper Spring Selection
Selecting the wrong size or type of spring is a common issue. Replacement springs must match your garage door’s weight and specifications exactly. Incorrect springs can lead to improper door balance or faster wear and tear.

Mistakes to Avoid 4: Over Tightening or Loosening Springs
Applying the wrong amount of tension can damage the door’s mechanism or make the door unsafe to operate. Adjust the tension carefully, following all of the manufacturer guidelines.
Avoiding these garage door spring replacement mistakes will save you time, effort, and potential frustration. Taking the time to understand how to replace garage door springs properly ensures a safe and efficient process, leaving your garage door functioning perfectly.
Maintenance Tips for Prolonging Garage Door Spring Life
Keeping your garage door springs in good condition doesn’t just improve performance. It also extends their lifespan and reduces the chances of sudden breakdowns. Regular care and attention can save you time and money down the road. Follow these simple garage door spring maintenance tips to get the most out of your springs.
Tip 1: Lubricate Springs Every 6 Months
Applying a silicone-based lubricant to your springs monthly reduces friction and prevents rust. Smooth, well-lubricated springs operate more efficiently and are less likely to wear out prematurely.
Tip 2: Inspect for Wear or Rust
Take time to inspect your springs regularly for visible signs of damage. Look for rust, gaps, or thinning metal that could indicate they’re nearing the end of their lifespan. Catching these issues early allows you to act before a complete failure occurs.
Tip 3: Replace in Pairs for Consistent and Balance Garage Door Performance
Testing your garage door balance is an easy but important maintenance step. Disconnect the opener and manually lift the door halfway. If it stays in place, the springs are balanced. If it drops or rises, they may need adjustment. Maintaining balance is important for learning how to replace garage door springs when necessary and for ensuring smooth operation.
Tip 4: Schedule Professional Inspections
Even with regular maintenance, having a professional inspect your garage door annually is a smart move. A professional can spot potential problems you might miss and make adjustments to keep everything running smoothly.

By adopting these garage door spring maintenance tips, you’ll reduce wear and extend the lifespan of your springs. Staying proactive also helps you avoid emergency repairs and ensures your door operates safely. Whether you’re maintaining your garage door or learning how to replace garage door springs, regular upkeep makes a significant difference in keeping your garage door in excellent condition for years to come.
FAQ – Garage Door Spring Replacement
How long does it take to replace garage door springs?
For a professional, it usually takes about 1–2 hours. If you’re attempting it yourself and it’s your first time, it may take longer because of preparation, safety steps, and careful adjustments.
Is it safe to replace garage door springs yourself?
Replacing springs can be dangerous, especially torsion springs, since they are under heavy tension. With the wrong tools or steps, you risk serious injury. DIY replacement is only recommended if you have the right tools, safety gear, and some experience. Otherwise, it’s best to call a professional.
Can I replace only one broken spring?
It’s technically possible, but not recommended. Springs work in pairs, and if one breaks, the other is usually worn down too. Replacing both ensures balanced performance and prevents another failure soon after.
How do I know which spring to buy?
You need to match the spring type, size, and strength to your garage door. This means checking:
- Spring type (torsion or extension)
- Wire size and coil count
- Length and inside diameter
- Weight and height of your garage door
If unsure, you can measure your old spring or ask a professional for the exact match.
How often should I replace garage door springs?
Most springs last about 7–9 years with normal use (10,000–15,000 cycles of opening and closing). If you use your door heavily, they may wear out faster—sometimes in as little as 4–6 years. Regular inspection helps you catch wear before failure.
What tools do I need for spring replacement?
Basic tools include:
- Winding bars (for torsion springs)
- Adjustable wrench
- Safety glasses and gloves
- Clamps or locking pliers
- Stepladder
- Socket set or ratchet
For torsion springs especially, winding bars are essential—never substitute with screwdrivers or makeshift tools.
Final Thoughts
Replacing garage door springs may feel intimidating at first, but with the right tools, preparation, and focus on safety, it’s entirely achievable. By following this step-by-step guide on how to replace garage door springs, you can tackle the process with confidence, ensuring your garage door operates smoothly and safely.
Regular maintenance is also essential for extending the lifespan of your springs and avoiding costly repairs in the future. Whether you’re replacing springs yourself or scheduling professional help, staying proactive will keep your garage door in top condition for years to come.


